Make Your Own CDN with Netlify
These days when you need to build a complex web application you typically will be reaching for NPM to install packages locally and then bundle them with a bundling tool like webpack or (my favorite) snowpack. A newer option one has, however, is to utilize skypack to import directly from a URL into your ES Module code.
import confetti from 'https://cdn.skypack.dev/canvas-confetti';Skypack is a cdn that allows you to incorporate just about any NPM module without having to install locally, which I think is pretty awesome. Some bundlers will even bundle up that imported code if you need it to be transpiled for older browsers!
So Skypack hits the mark for NPM modules, but what about your own custom code? I don't know about you but I have written quite a few small functions and libraries over the years that I wish I had readily accessible to use in subsequent projects. Sure I could put them in a notes storage app, or Github gists, but those don't provide me a way to pull them directly into my project code at a later date. I could also turn them into NPM packages but the work entailed there is a bit much for a simple, one-off piece of code.
In order to solve this issue, I decided to utilize Netlify, which is a CDN itself for static assets, and host my own JS and CSS code. This would allow me to import my own code similar to how Skypack works and Netlify's CDN structure gives me the scalability I need should more projects start hitting the code I have stored on their servers.
So without further ado, lets jump to the code!
Requirements
- Netlify account ( or any static hosting, Cloudflare, S3, etc. I use Netlify because of their awesome dev experience and Domain handling )
- Github account
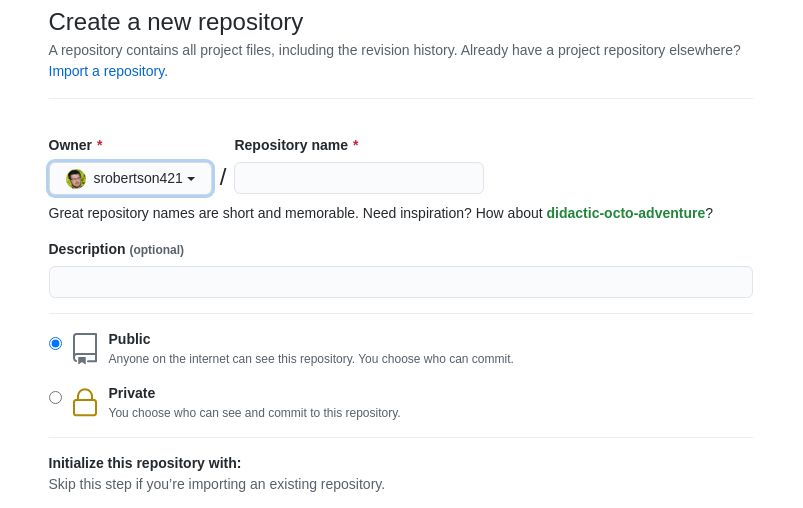
Step 1 - Setup Github repo and clone it
First thing we need to do is create our Github repo that will eventually connect to Netlify. I typically create one without .gitignore or a README.
Next we'll clone our repo down:
git clone git@github.com:<username>/<repo-name>.git
cd repo-name
Step 2 - Add code modules to our repo
When adding code to the repo that will become our CDN, it's good to think about how it will be consumed via your import statements. NPM already handles this quite well with semantic versioning so we'll try to emulate that with our own folder structure. Something like this:
mkdir -p js/myModule/@0.0.1 && touch js/myModule/@0.0.1/myModule.jsThis will allow us to use the following import url when it is fully deployed:
import myModule from 'https://my-cdn.netlify.app/js/myModule/@0.0.1/myModule.js';Then down the road we can create new versions of our module without disturbing the old one, just in case a project is using the old code and the new code has breaking changes.
Next open the myModule.js file in your favorite code editor and we'll just toss this basic function in there. Notice the export default keywords. These allow this file to be consumed by ES module loaders, even directly in the browser!
export default function myModule() {
  alert('This is my module!!');
}
Step 3 - Add netlify.toml file to control CORS
The last thing we need in our repo is a netlify.toml file which will allow us to configure our deployment on Netlify.
touch netlify.tomlinside our netlify.toml file we'll add the headers section to allow for Cross-Origin requests. If we didn't include this our other apps wouldn't be able to request the code files from the cdn due to origin security present in most browsers.
[[headers]]
  # Define which paths this specific [[headers]] block will cover.
  for = "/*"
    [headers.values]
    Access-Control-Allow-Origin = "*"%
That header configuration allows for CORS request from any route in our cdn. If you'd like to be more specific about what routes are allowed you can add as many routes as you need to the toml file.
Now that we have all that, we'll go ahead and save our files and get ready to deploy it all!
Step 4 - Deploy and Profit!
Next we need to push our changes up to github:
git add -A
git commit -a -m "my commit message"
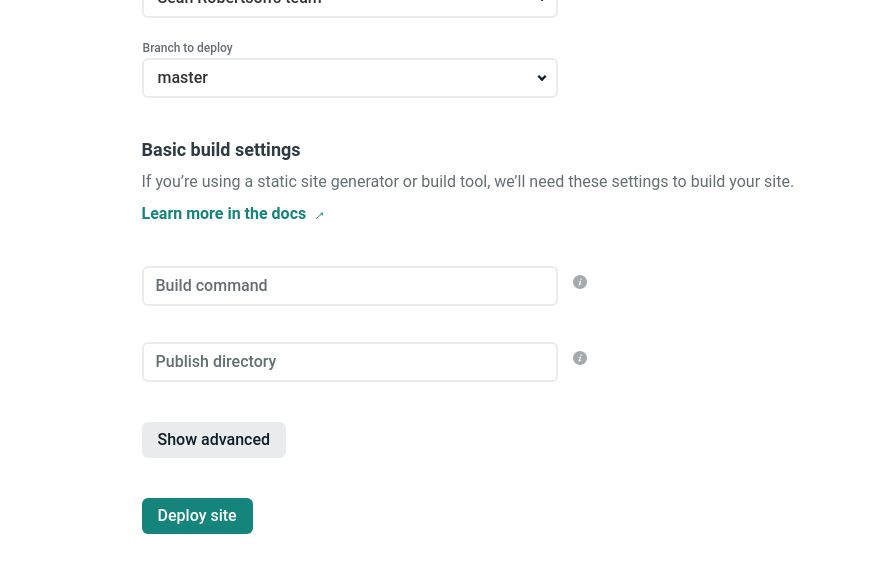
git push origin masterWith our changes up in github, we need to connect our repo to Netlify and deploy it to their cdn. Go ahead and:
- Click the New Site From Git button
- Select Github and authenticate Netlify to access your Github account
- You should see a list of your Github repos, go ahead and select the cdn repo
- We won't fill in anything for the
Build commandorPublish directoryas we aren't building any files yet and the publish directory will be our root repo directory. - Click Deploy site
Now all that's left is to wait for the files to deploy! While you wait though, you can change your sitename so that's something easier to understand rather than the randomized name that Netlify gives you.
- Click Site Settings from your site overview page
- In the Site Details section, you will find the Change site name button
- I named mine
sean-cdn
Conclusion
If you see a successful deploy message in your site overview, congrats!!! You now have a personal CDN setup ready for you to add more code as you build things. As you come up with additions, just add the files (preferrably in a versioned folder) and push to Github again from your local repo. Your code will auto-deploy to Netlify!
In another post, we'll go through adding a build step for Netlify to run that will minify our JS code. Stay tuned and thanks so much for reading!!